Robot Arm teaching
Follow along: Robot Arm Movement Retention Example
The program launching process along with parameter settings are all simplified and set up on the Jupyter Notebook Environment.
The robot arm is able to retain an change in the robot arm position as a movement. This example shows how the movement teaching process is conducted.
- Open the 05_05_study_mode.ipynb Jupyter Notebook
- Load Arm_Lib module and register the robot arm as an object
- Follow and Execute the example codes
(The Jetson Board used for these examples are => Jetson Nano)
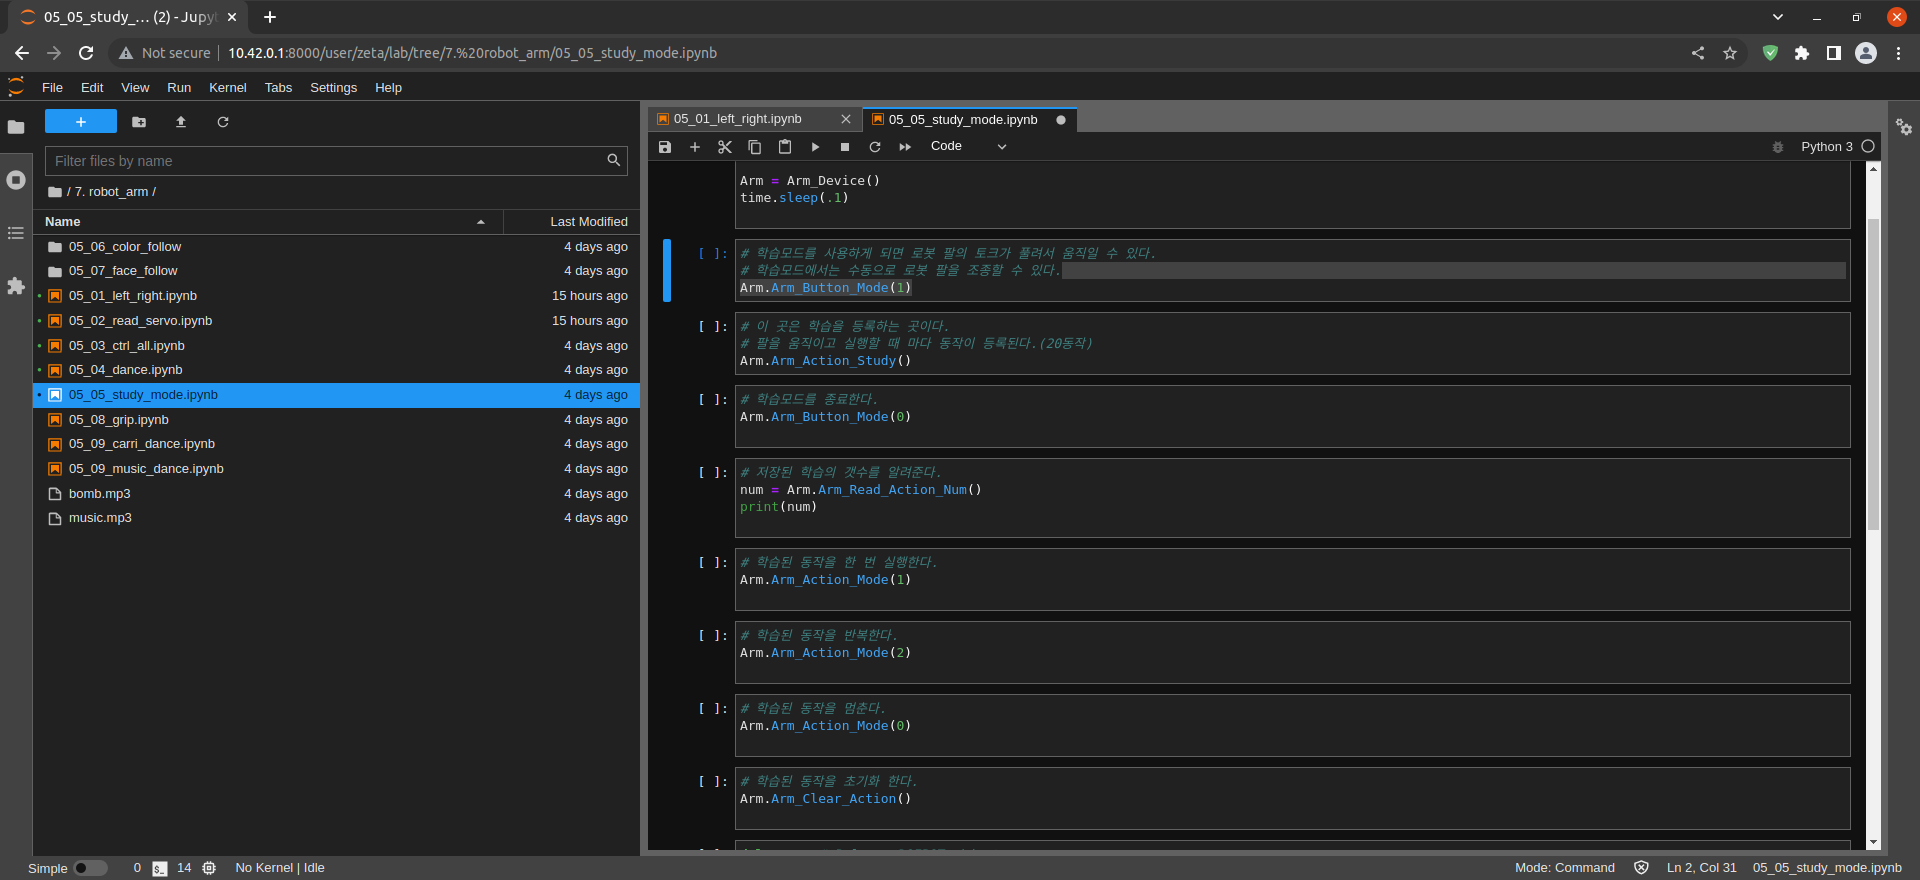
05_05_study_mode.ipynb
- Running the cell codeCtrl + Enter
To make sure that no other program is using the robot arm, turn off the joy stick control and allow for robot arm to be controlled:
%%capture
!pm2 stop 14
!pm2 start 15
Load Arm_Lib module and register the robot arm as an object
#!/usr/bin/env python3
#coding=utf-8
import time
from Arm_Lib import Arm_Device

Arm = Arm_Device()
time.sleep(.1)
Robot arm teaching and learned motion execution
# If you use the learning mode, the torque of the robot arm is released and it can move.
# In learning mode, you can manually control the robot arm.
Arm.Arm_Button_Mode(1)
# This is where you register your learning.
# Whenever the arm is moved and executed, the motion is registered. (20 motions)
Arm.Arm_Action_Study()
# Exit learning mode.
Arm.Arm_Button_Mode(0)
# Indicates the number of stored lessons.
num = Arm.Arm_Read_Action_Num()
print(num)
# Execute the learned motion once.
Arm.Arm_Action_Mode(1)
# Repeat the learned motion.
Arm.Arm_Action_Mode(2)
# Stop motion (learned motion).
Arm.Arm_Action_Mode(0)
# Initialize the learned motion.
Arm.Arm_Clear_Action()
Remove the robot arm object
del Arm # Release DOFBOT object
Reset the Robot Arm control
%%capture
!pm2 stop 15
!pm2 start 14